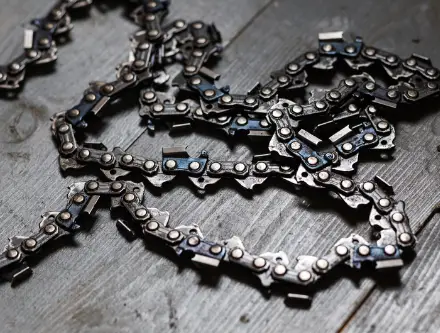
Anybody who uses a chainsaw regularly will know that one of the most annoying problems you’ll face is a tangled chainsaw chain.
A tangled chain can spell further problems, because attempting to fix the problem the wrong way can actually cause your chainsaw chains to become even more tangled, and before you know it, you’re in a mess of tangled little teeth.
But don’t worry. Today’s post will tell you exactly how to untangle a chainsaw chain so you can get your chainsaw back in working order.
Why Your Chainsaw Chains May Be Tangled
Your chainsaw chain can become tangled for a number of reasons. Most commonly, it’s due to how you stored the chainsaw in between uses.
Say you’ve just taken your chainsaw out of the garden shed for the first time this year and notice that the saw chain is tangled. You probably didn’t care for the chainsaw’s blade well enough over the winter storage.
Tips For Caring For Your Chainsaw Blade:
- Keep it well oiled with lubricating oil over winter
- Store it in a suitable place where movement is unlikely
- Newer chains have sharp teeth compared to an old chain, so be sure to use extra chain lubricant to stop the teeth snagging on one another
Your problem today isn’t about why your chainsaw chain is tangled, though, it’s about how to untangle a chainsaw chain, so let’s get to it! You can worry about preventing it again with the tips above after you have successfully untangled the chain, right?
Safety First
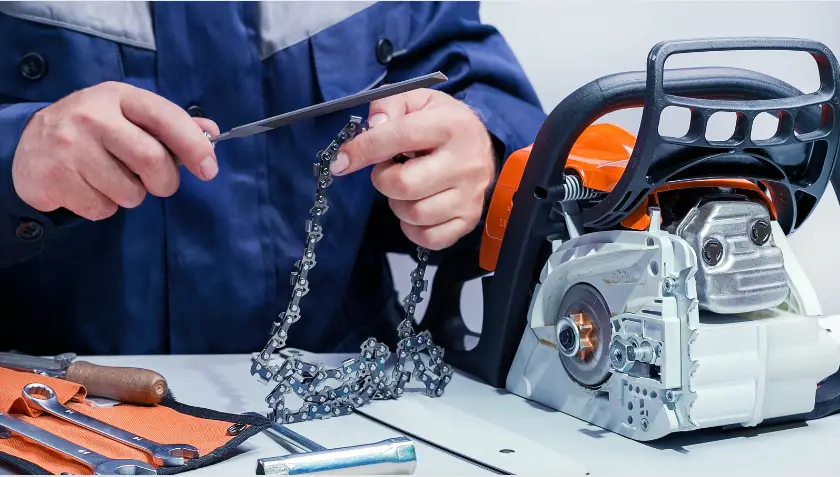
You’ll need to wear protective gloves, protective goggles, and have all the right safety equipment with you whilst working on the untangling process. Untangling sharp teeth from one another can easily cause injury, and you want to avoid that at all cost. Especially since you’ll have to handle the chainsaw chain to untangle it.
Here’s what you’ll need:
- Safety goggles
- Chainsaw gloves (wear gloves throughout the entire process – this is very important)
- Any safety clothing you have that can cover your whole body – the sharp blade can catch you anywhere as you’re untangling it and it will cut you if it touches bare skin
Before we show you the easy way to untangle your chainsaw chain, let’s just talk about some additional equipment you may need.
What Else You’ll Need
The method you’ll be working through today is known as the double loop method. Whilst it doesn’t require any tools typically, particularly bad tangles may require some additional help.
Often, it’s best to have Allen wrenches or screwdrivers on hand to remove any debris or dirt that might be linking the tangled chain together.
How To Untangle A Chainsaw Chain
Now that you’ve gathered all your safety equipment and tools for the job, follow these easy steps below to untangle your chainsaw chain.
1. Lay Your Chainsaw Chains Out
The first thing you’ll need to do, after putting all your safety gear on, of course, is remove the chainsaw chain from the chainsaw itself.
Once you’ve removed it, you’ll need to lay the chain on a flat surface. A sturdy surface is best, because it’s likely that it will be scratched a little by the sharp chainsaw chain.
Find somewhere suitable, like your work table in your garage or shed. Once you’ve taken the chainsaw chain off the chainsaw, simply lay it out on the flat surface/table you’ve chosen.
2. Use Bar And Chain Oil
Next up is lubricating the chain. Lubricating oil isn’t just to help protect the chain links during storage. When you lubricate the chainsaw chain before attempting to untangle it, it’s much easier to work the knot out of it.
Start by cleaning your chain of any dirt or debris. Then take some bar and chain lubricating oil and apply it all over the chain.
This step is especially important for an older chainsaw chain, which may be stiff, tight, and not well oiled with premature wear.
Sometimes, when you lubricate the chainsaw chain, it will naturally unknot if the tangle isn’t bad. That way, you won’t need to continue with the steps.
If the oil alone doesn’t fix the issue, then the simple steps below surely will.
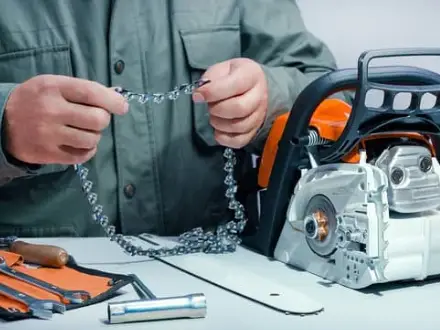
3. The Double Loop Method
Now, make two opposite loops at either end of the chain. The two loops should be on either side of the tangle.
This may be difficult if it’s especially knotted, but even making smaller loops is fine, but make them as large as you can and hold the two loops in opposite hands (still wearing gloves, of course).
Try to keep the diameter of the loops around 3 inches. Those two 3 inch loops should be in either hand, and one loop, naturally created by the chain because of how you’re holding it, should be larger and hanging below the two smaller loops in your hand.
4. Lift Chain Into The Air
Whilst holding the two loops in place still, raise the chain into the air. The larger loop should hang straight down, below the loops in your hand.
Raise the chain until the chainsaw’s larger loop is equal to the two you’re holding. The lower loop will become straightened and stiff as you raise it from the table and then start to slip through the small loops you made earlier.
Let this fall naturally, it’s simply the chainsaws chain untangling itself. This is why it’s important to lubricate the chain beforehand, because it does most of the work for you.
Once the chain has fallen to the bottom, it should be untangled.
5. Repeat Until The Chainsaw Chain Tangle Is Fixed
If it doesn’t untangle right away, simply repeat the process again. Untangling may take longer if the tangle is particularly bad to start with and there are multiple knots/tangles to deal with.
Keep repeating the process and using bar and chain oil to keep the chain well lubricated, and eventually it will be untangled. Work until no two links are tangled.
Final Thoughts
This method is foolproof and has helped people untangle chainsaw and bike chains for years! All you need is a flat surface, proper protective gear, and some hand-eye coordination to get the loops right, and eventually the lubricated chain will sort the problem out itself.
Remember, keep the chain well lubricated when in storage so it doesn’t become stiff, tight, and tangled, and store it in a safe, undisturbed area, and you shouldn’t have to face this problem again next summer either.
